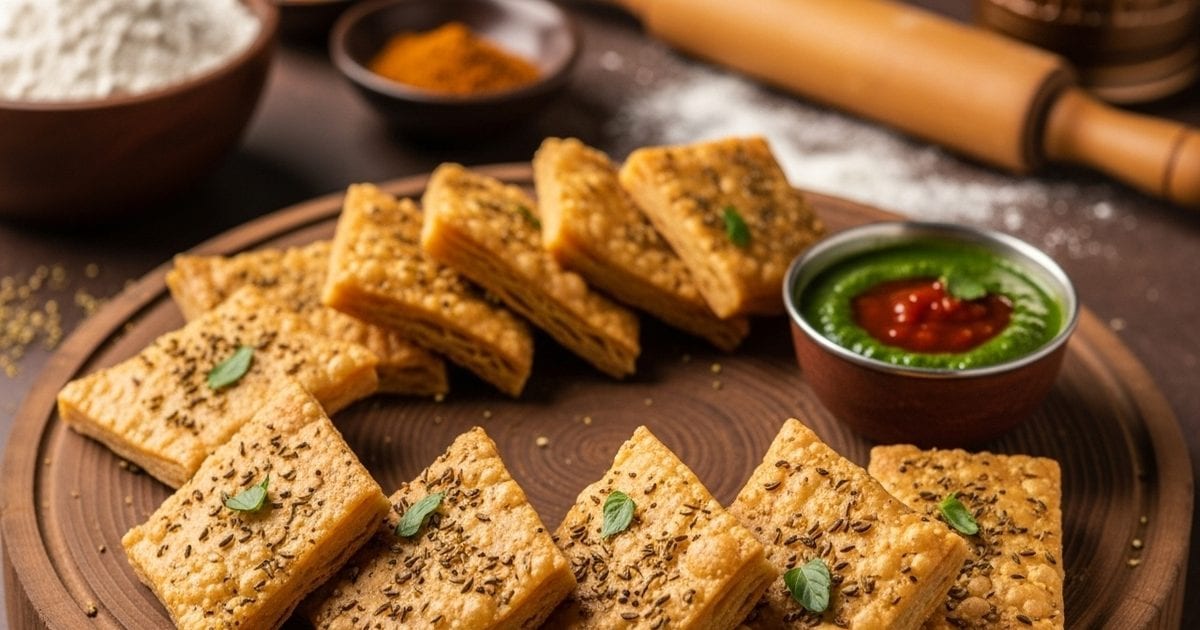
Nimki Recipe: As soon as the festive season arrives, the aroma of dishes starts spreading in the houses. Somewhere gram flour laddus are being made, somewhere salty sev and somewhere mathriyas. But among all these, there is one thing which is liked by everyone due to its special taste and crispy texture – Nimki. Nimki is a traditional salty snack which is especially made during festivals like Diwali, Holi. It is commonly prepared in North Indian homes and after eating it, a smile appears on everyone’s face. Crisp on the outside and layered on the inside, the biggest feature of this Mathri is that once made, it lasts for weeks, provided no one eats it quietly! As easy as making Nimki may seem, it also takes some attention and hard work. Adding the right amount of oil to its dough, making layers and frying it at the right temperature – all these small steps together make it perfect. In this article, we will tell you the complete method of making Nimki in very clear and simple language, so that you can make this tasty snack at home without any confusion.
-Flour 2 cups
-Salt as per taste
-Oil (for frying) 2 tbsp
-Ajwain or cumin 1/2 tsp (crushed)
-Black pepper 1/4 tsp (crushed)
-Ghee or oil (for sata) 4 tsp
-Dry flour or cornflour 4 teaspoons
-Water 4-5 spoons (for kneading the dough)
-Oil for frying as required
Method
preparing the dough
1. Take flour in a vessel. If you want, you can also add some flour.
2. Now add oil to it and also add salt, celery and black pepper.
3. Mix all this well with hands so that the oil gets absorbed in every part.
4. Now add water little by little and knead a tight dough. Do not add too much water at all.
5. Wrap this dough in a zip bag or plastic sheet and keep it for 20 minutes.

Preparing Sata (Method of making layers)
1. Take 4 teaspoons of ghee and add 4 teaspoons of dry flour or cornflour to it.
2. Beat this mixture well and make a smooth paste. This is the ‘sata’ that will make the layers crispy.
layering
1. Divide the dough into two parts.
2. Take a ball and roll it thinly.
3. Now apply sata on it with a brush and slowly roll it tightly.
4. Roll the second part in the same way.
5. Cut these rolls into small pieces.
6. Press each piece gently from the center so that the layers are visible.
to shape
1. Roll each piece. If you want, make it round or give it a long shape.
2. After rolling, make a small hole with a fork so that it does not swell while frying.
3. If you want, you can apply a little flour with your finger and fold it into three layers.

1. Heat oil in a pan. Keep the gas medium.
2. Slowly drop the prepared Nimki into the oil.
3. Fry on low flame until golden and crisp.
4. Take out and keep it on tissue paper so that extra oil gets removed.
5. When it cools completely, store it in an air tight container.
tips
-Add less water to the dough so that the nimki becomes crispy.
-While rolling, the layers should not become loose, roll tightly.
-Do not fry on very high flame otherwise it will burn outside and remain raw inside.
-If you want, you can also sprinkle a little chaat masala or mint powder after frying.