You can easily make it in birthday, worship, or any small and big celebrations. So let’s know how to make gourd barfi in a traditional and desi style.
First of all wash and peel the gourd and remove its seeds. Now grate the gourd. Keep in mind that only the soft part grate it. After this, press the grated gourd lightly by hand and remove its water. This will make barfi quickly and taste will also be good.
2. Boil milk
Take a heavy bottom pan or flesh and put milk in it and keep it on medium flame to boil. As long as the milk comes to a boil, keep stirring the cream that is freezing in it so that the milk does not come from the bottom.
Now add grated gourd to boiling milk and cook while stirring continuously. Gourd may take about 15-20 minutes to melt milk well in milk and mix. Keep stirring in between so that the milk does not appear in the bottom.
When the milk becomes thick well and remains about half, then add sugar to it. Milk will be slightly thinner as soon as sugar is added, so cook it for more than 10 minutes. Now add green cardamom powder to it, which will bring both fragrance and taste.
Now add ghee to it and mix well. Also add chopped cashew nuts. This will give light greasy and nice taste in Barfi.
6. Preparation for the era
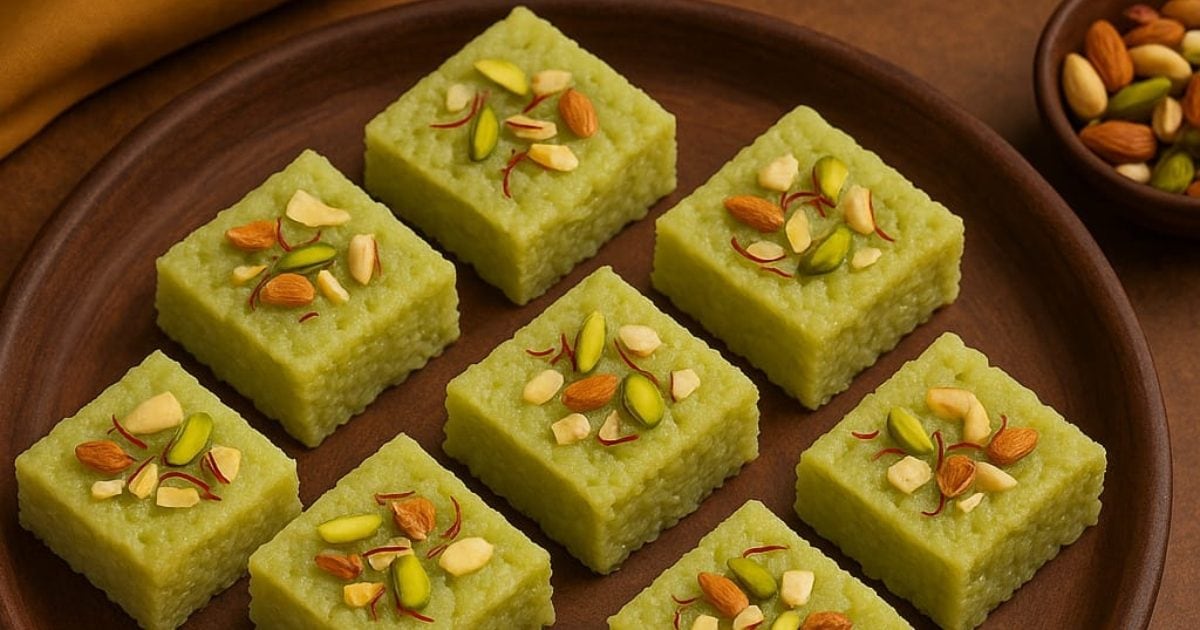
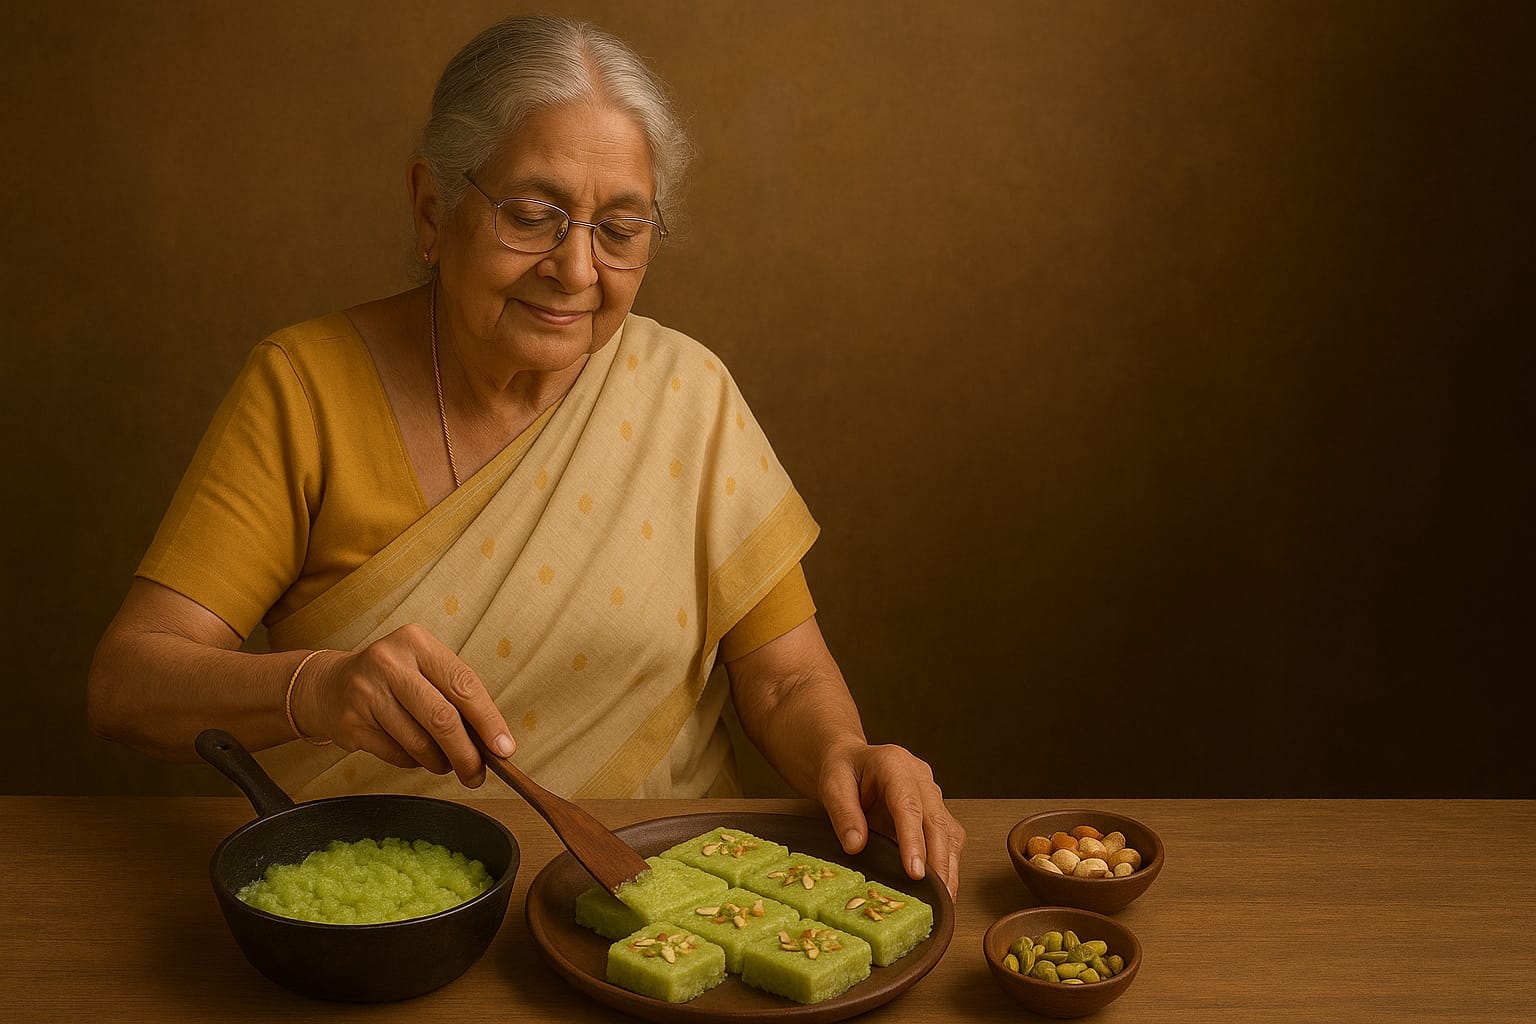
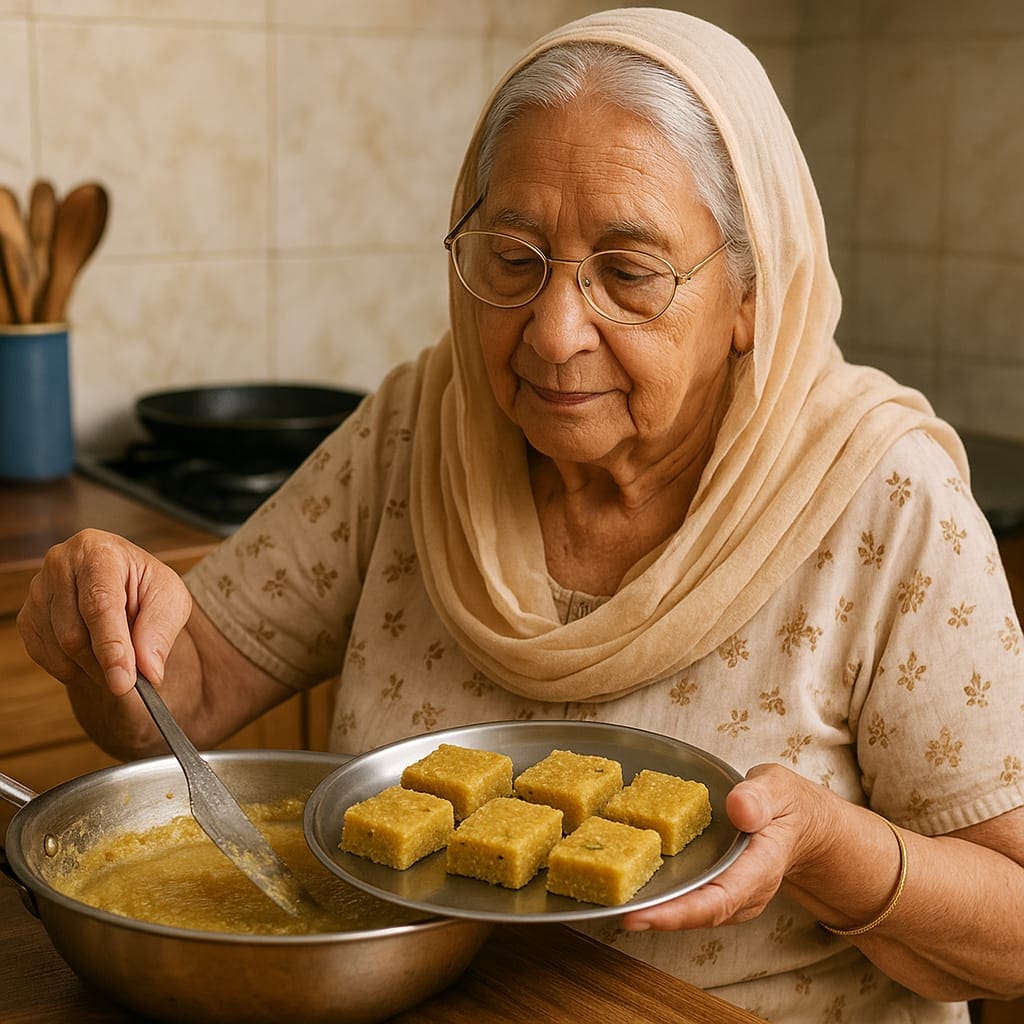
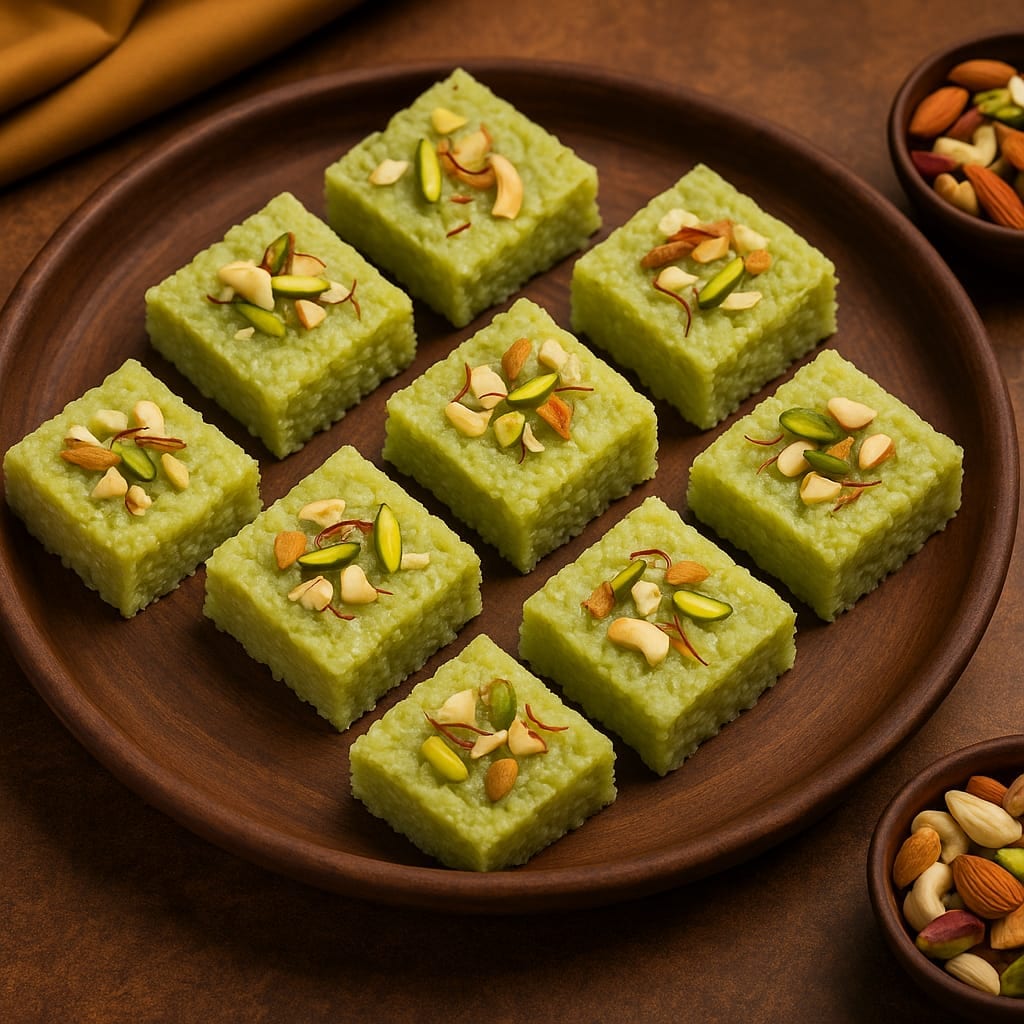
When the mixture thickened and started coming together and leaving the pan, then turn off the gas. Now put light ghee in a plate and put the prepared mixture in it and spread it evenly. Sprinkle pistachios and saffron threads on top.
7. Let barfi freeze
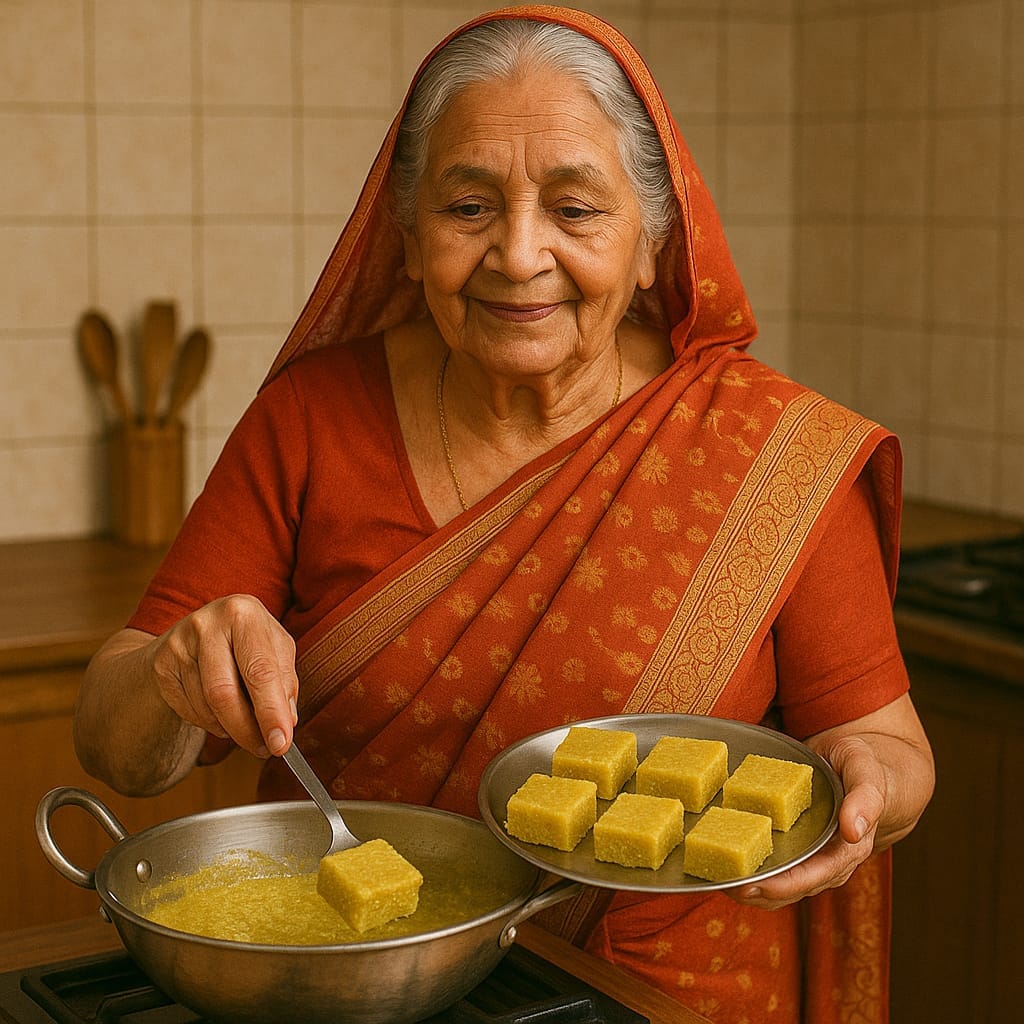
Now keep it for at least 2-3 hours to cool down and freeze. After freezing, cut the shape of your choice with a knife. Just ready, delicious gourd barfi made in grandmother’s style.
Always take the gourd fresh and green, this will bring sweetness and freshness in Barfi. If you like creamy taste, then you can also add 1/2 cup mawa (khoya). It is necessary to squeeze the gourd water well or else it may take time to freeze barfi. Keep Barfi in airtight compartment, it will run comfortably in the fridge for 4-5 days.
So you saw how easily gourd barfi becomes at home. Now whenever a festival or guests come to the house, instead of bringing expensive sweets from the market, feed them with this easy recipe. Believe that everyone will not get tired of praising you. If you liked this recipe, then definitely share it with your friends and family. This time try something different in the style of grandmother and grandmother and make the sweet moments of your house even more memorable.